I’m mainly writing this post to retrace my own steps in recently creating a shawl. I usually just say, “I enjoy knitting” or spinning without explaining much about my process. Honestly, I sometimes find it frustrating to describe, because I could be using my creativity towards knitting instead (it’s more enjoyable and much easier). But I do enjoy reading others’ thoughts on their craft, so maybe someone will find this interesting too.
A Quick Synopsis
First, I made the yarn. Then, I followed a knitting pattern. That’s it! I started knitting when I was nine years old, and now that I’m over 40, it feels like second nature. Still, at some point, I had to learn everything. It seems like by now I should be better at explaining things, but I’m a knitter, and not a knitting teacher.

The Spinning Process
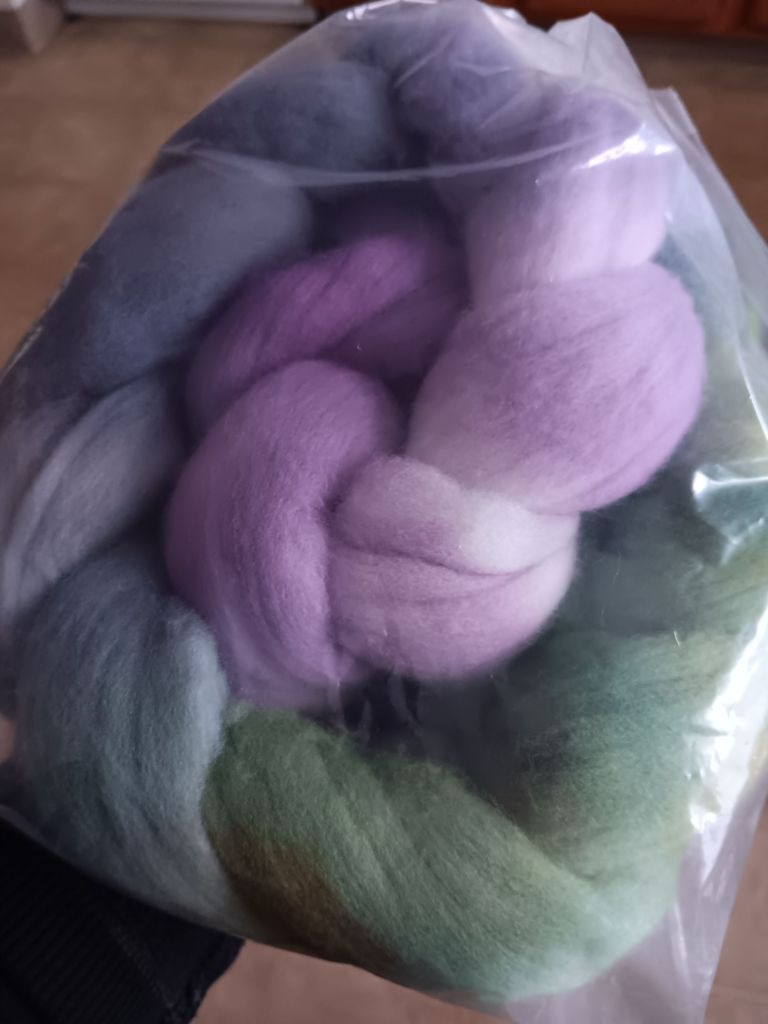
The wool cost about $10-20 for a 4oz bag, sorry I don’t recall the exact price. It’s Merino fiber, one of the softest and most commonly used wools for garments. I bought it from the Wool Center at the NY State Fair over the summer. I didn’t see the exact sheep it came from, but the wool shop was right next to an agricultural building full of live sheep, including Merinos, so that’s close enough for me (a decidedly city gal) to consider this getting my hands on local wool! Someone had already cleaned, prepared, and dyed the fiber, so sorry I can’t describe that part. There are plenty of YouTube videos that show it though, here is a link to a 1 minute overview of what goes on with fiber processing, for the curious.

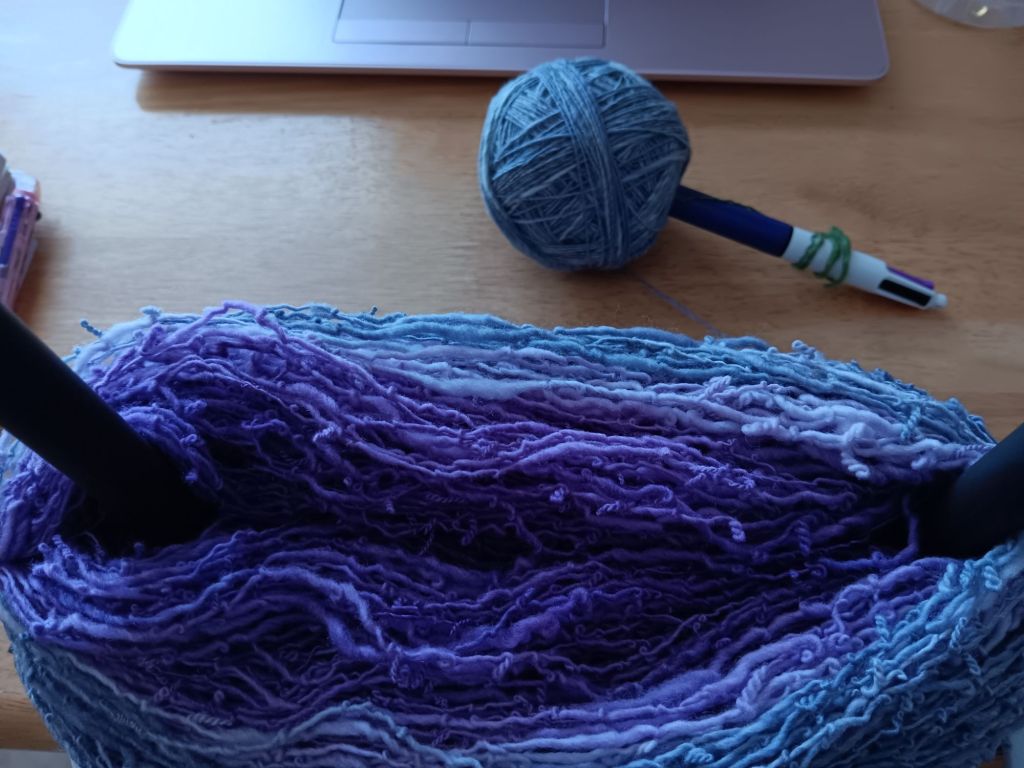
I spun my wool into a long continuous strand using my Eel Wheel 6 electric spinning machine. I love that thing, it’s one of my favorite possessions! It is very fast and powerful. The result was a single-ply yarn with a gradient transitioning from green to blue to purple. I spun it in the Z direction (aka “clockwise”), which technically can affect how the yarn behaves in knitting, but after much experimentation, I haven’t noticed any difference for myself.
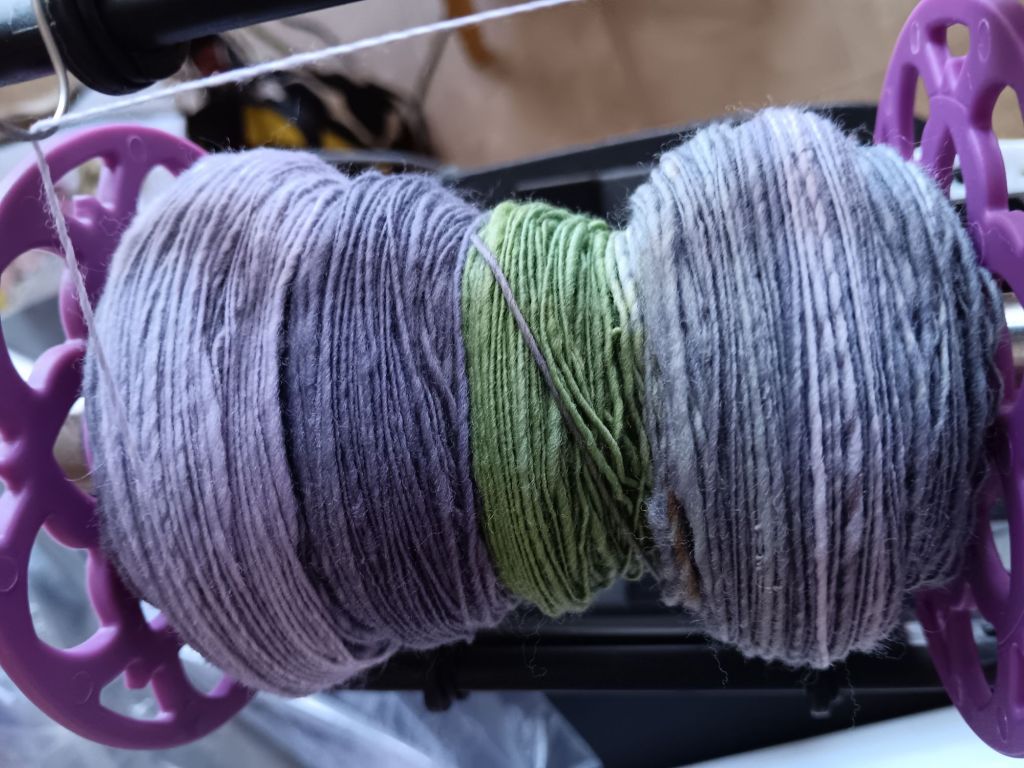
The spinning portion of this project took about a week. I probably could have finished it faster, but life tends to get in the way.
Measuring the Yarn
Once the yarn was spun, it was all on one large bobbin, like an oversized spool of thread. I measured it as best I could. There are tools to help spinners gauge their output, but I don’t own any of them. Every time I’m tempted to buy those items, I decide I’d rather spend that money on more wool! I prefer a DIY, freestyle approach to most things in life, and since my knitwear holds up over time, keeps me warm in the cold weather and even gets some compliments, I trust my method.
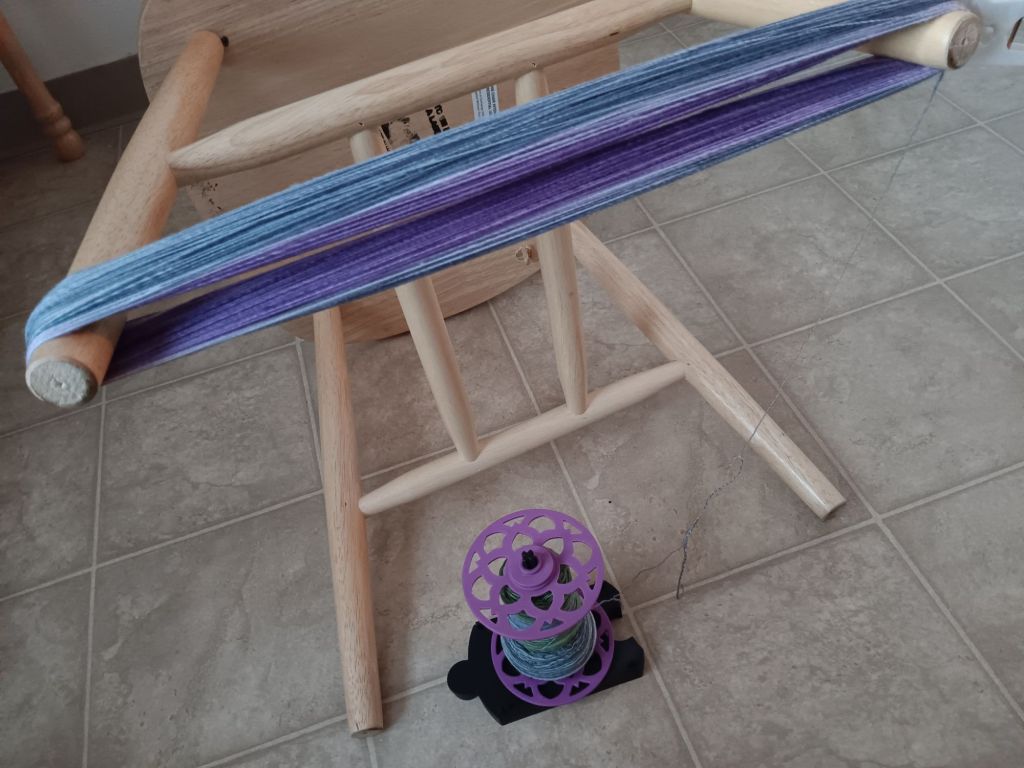
There is a chair in my home, I tip on it’s side, and wrap my yarn around the legs. Simple math has helped me estimate each loop around is just shy of a yard in length, so I count as I’m winding it around and around and note on a scrap of paper each time I reach 100. I tied off a few points around the loop with a scrap piece of string, so it doesn’t become a tangled mess.
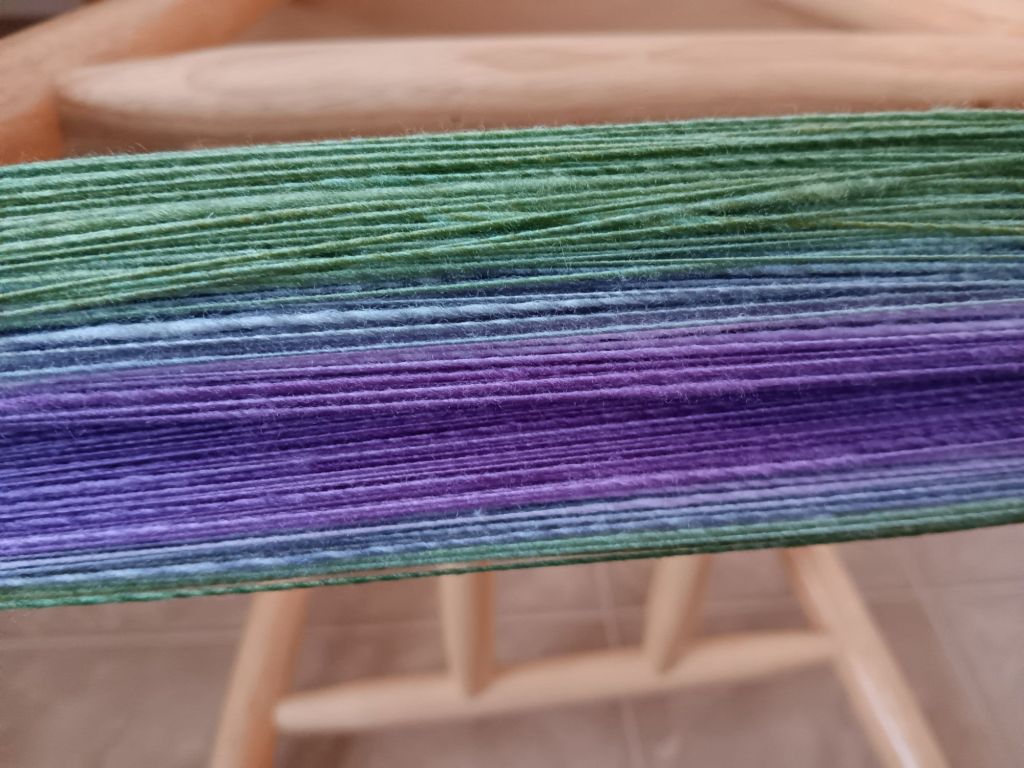
The yarn I made for this project measured about 630 yards. The pattern I originally had in mind required 800 yards, so I had to adjust my plan. I could have used my handspun yarn for the original pattern- combined with something else to finish, but instead, I went with another pattern I’d knit before.
Configuring Yarn for Knitting
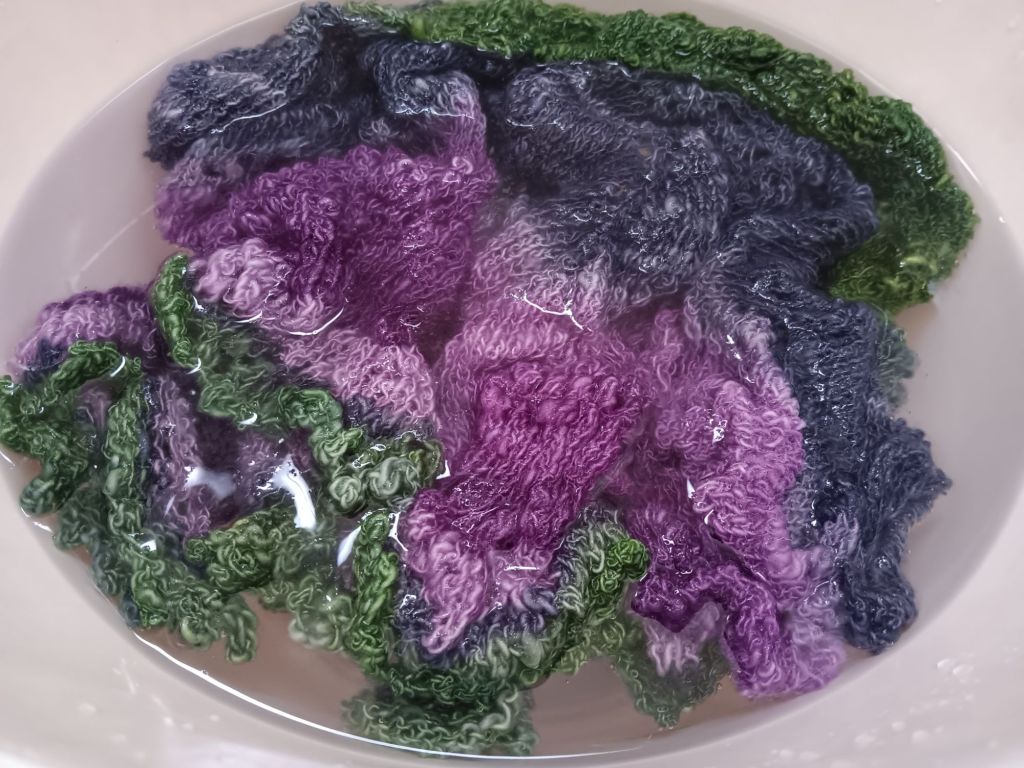
After measuring, I removed the 600+ loops of yarn from around my chair’s leg (as one big chunky loop). Then I gave it a bath. Soaking in warm water relaxes the fibers. It’s been through such a transformation- from the hairs on a living sheep, to loose fiber in a pile, to brushed and blended wool, to dyed and braided roving, and finally, twisted by tiny bits into my yarn. Yarn can definitely be knit without relaxing in the water first, but there is tension from spinning that is eased after being soaked and dried.
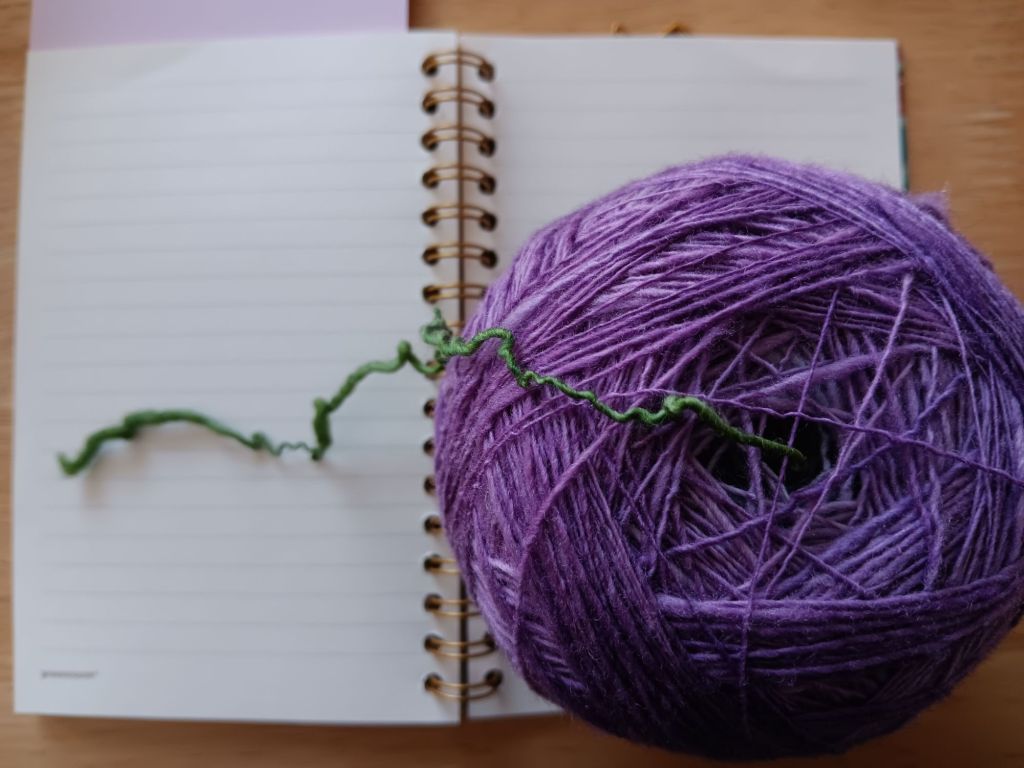
Once dry, I wound my yarn into a center-pull ball using a pen instead of a Nostepinne (a traditional wooden tool for this). Nostepinnes can be a beautiful handmade wooden item to behold, but again, I’d rather spend that money on more fiber! I trap the yarn end under a pen clip a few times, and then wind my ball around the tip. Wrapping the yarn and slowly rotating the pen to create a center-pull ball is very satisfying.
There are moments when the yarn on a loop might get tangled, but it’s a part of the patient hobby of knitting and spinning your own wool. Being patient and gentle is important in so many areas of life.
Knitting the Shawl
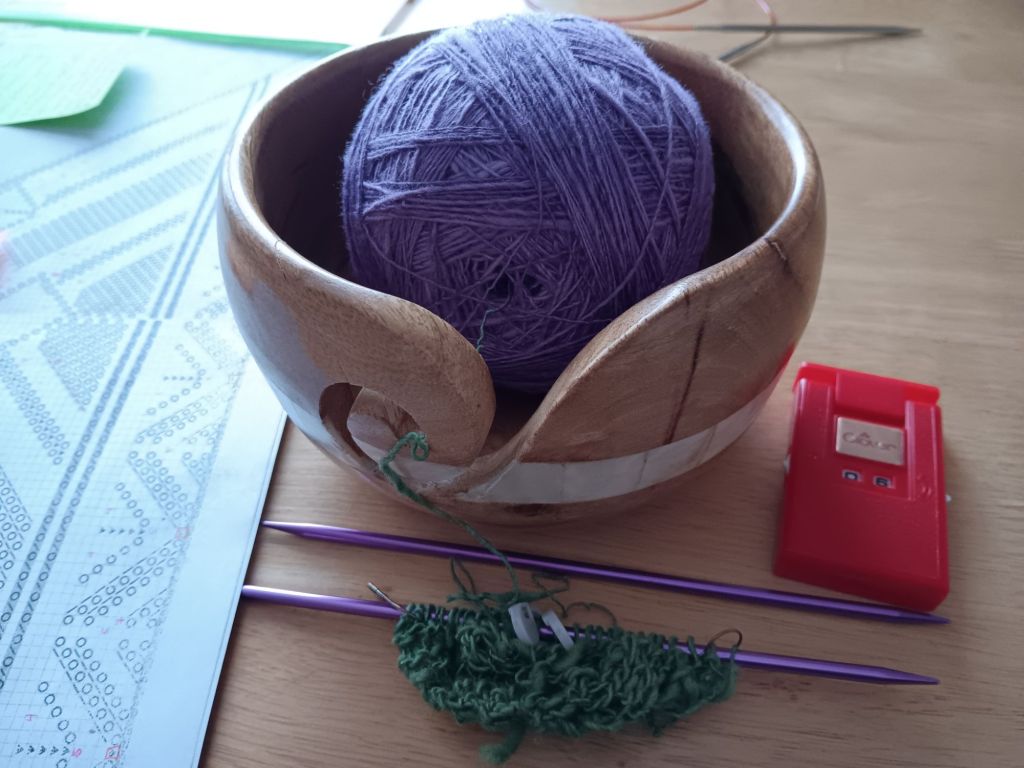
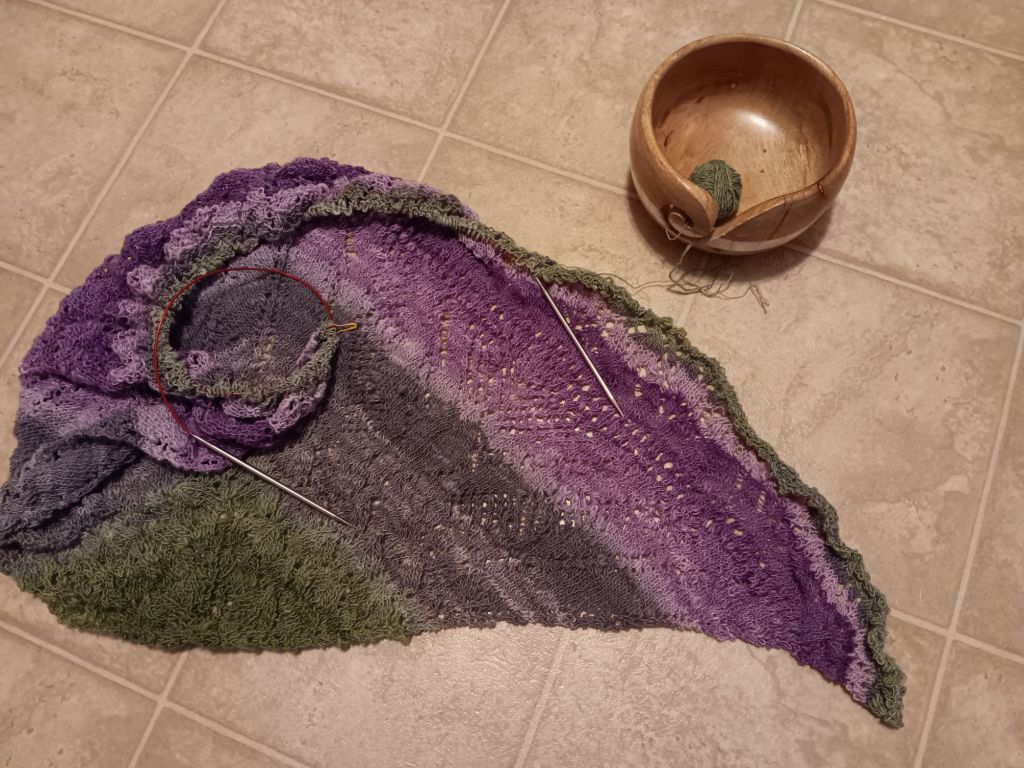
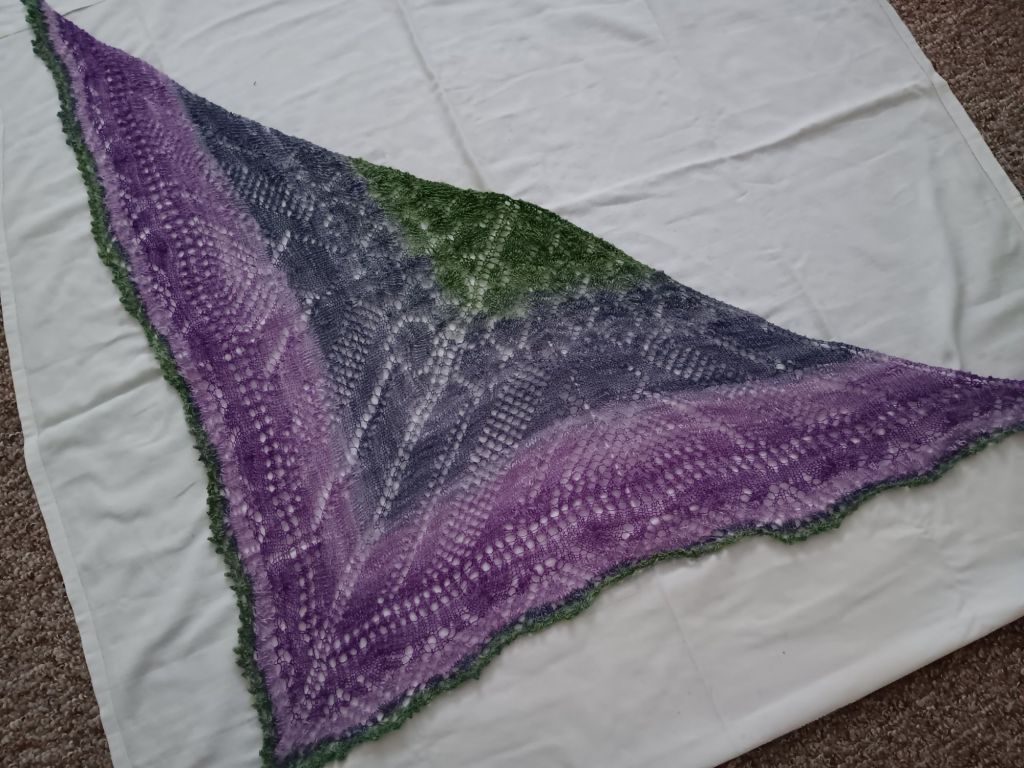
The pattern I chose is called Sabrina by Marisa Hernandez, it’s an Estonian lace design I’ve knit twice before, always with my handspun yarn (though it would look great with commercial lace yarn too). The triangular shawl features a lacy top edge resembling scales, leaves, or petals, transitioning to a mesh-like base with triangular motifs. The pattern is a free one on Ravelry, I would definitely recommend. It is a charted knitting pattern, and not really difficult for how textured and intricate it looks.
Knitting took about six weeks. I started in late November 2024 and finished in early January 2025.
Blocking Out
Once the shawl was complete, I soaked it again, this time to prepare for “blocking” or stretching it into the final shape. After pressing out excess water with towels, I spread the shawl on a sheet on my floor, and tried elongating every inch to emphasize the lacework. I pulled at it to spread apart the lacy holes and then pinned along the edges to keep it in place. Wool is incredibly strong and can handle the strain so I wasn’t very gentle with this step.
Personally I prefer a smaller, more fitted garment, but I was making this for my daughter who loves a large, dramatic, drapey lace shroud.

Gifting the Shawl
Last week, I excitedly gave the shawl to my daughter. I now regret not taking a photo of it being worn, or hung up to showcase its full size and graceful drape. But after many months of work, I was anxious to get it in her hands! I also forgot to measure the final dimensions- an oversight I’ll try to correct in future projects. Taking notes and photos was definitely my weak area in this project which I meant to blog about all along, oh well. Overall I’m very happy with what I’ve made though.
Thank you for reading and bearing with me as I attempt to document my knitting process. Hopefully, I’ll improve at this over time, as I have with other aspects of my favorite crafting hobby.

Leave a comment